Make
In the new boilerplate, you can create AI Agents with a Low-Code solution using Make API
If you want to use MAKE API - you need to buy any paid plan, as there is no possibility to work with API in free plan
Environment variables
1. Log in to your Make account
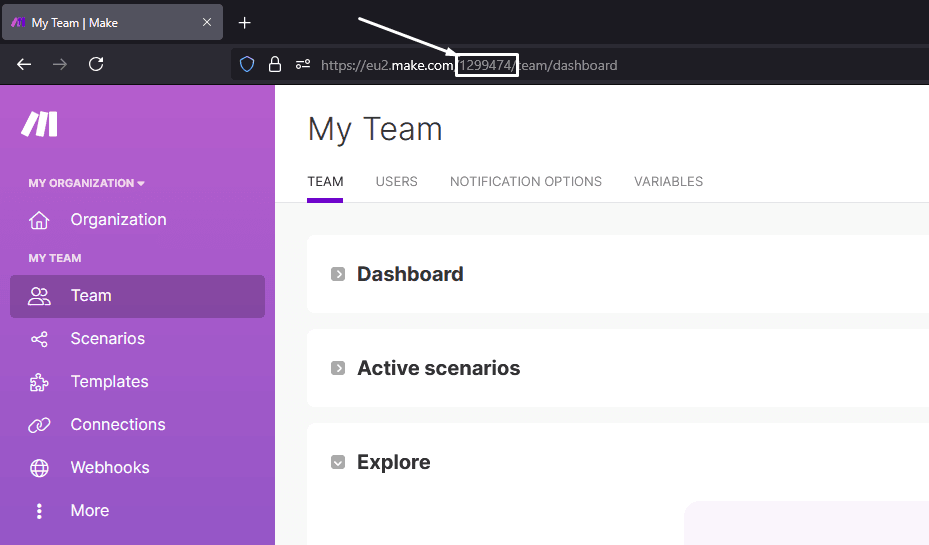
2. Copy your company ORGANIZATION ID and paste in .env

.env
MAKE_ORGANIZATION_ID=
3. Copy your TEAM ID and paste in .env
.env
MAKE_TEAM_ID=
4. Create your API KEY here and paste in .env
To use MAKE API - you need to buy any paid plan, as there is no possibility to work with API in free plan
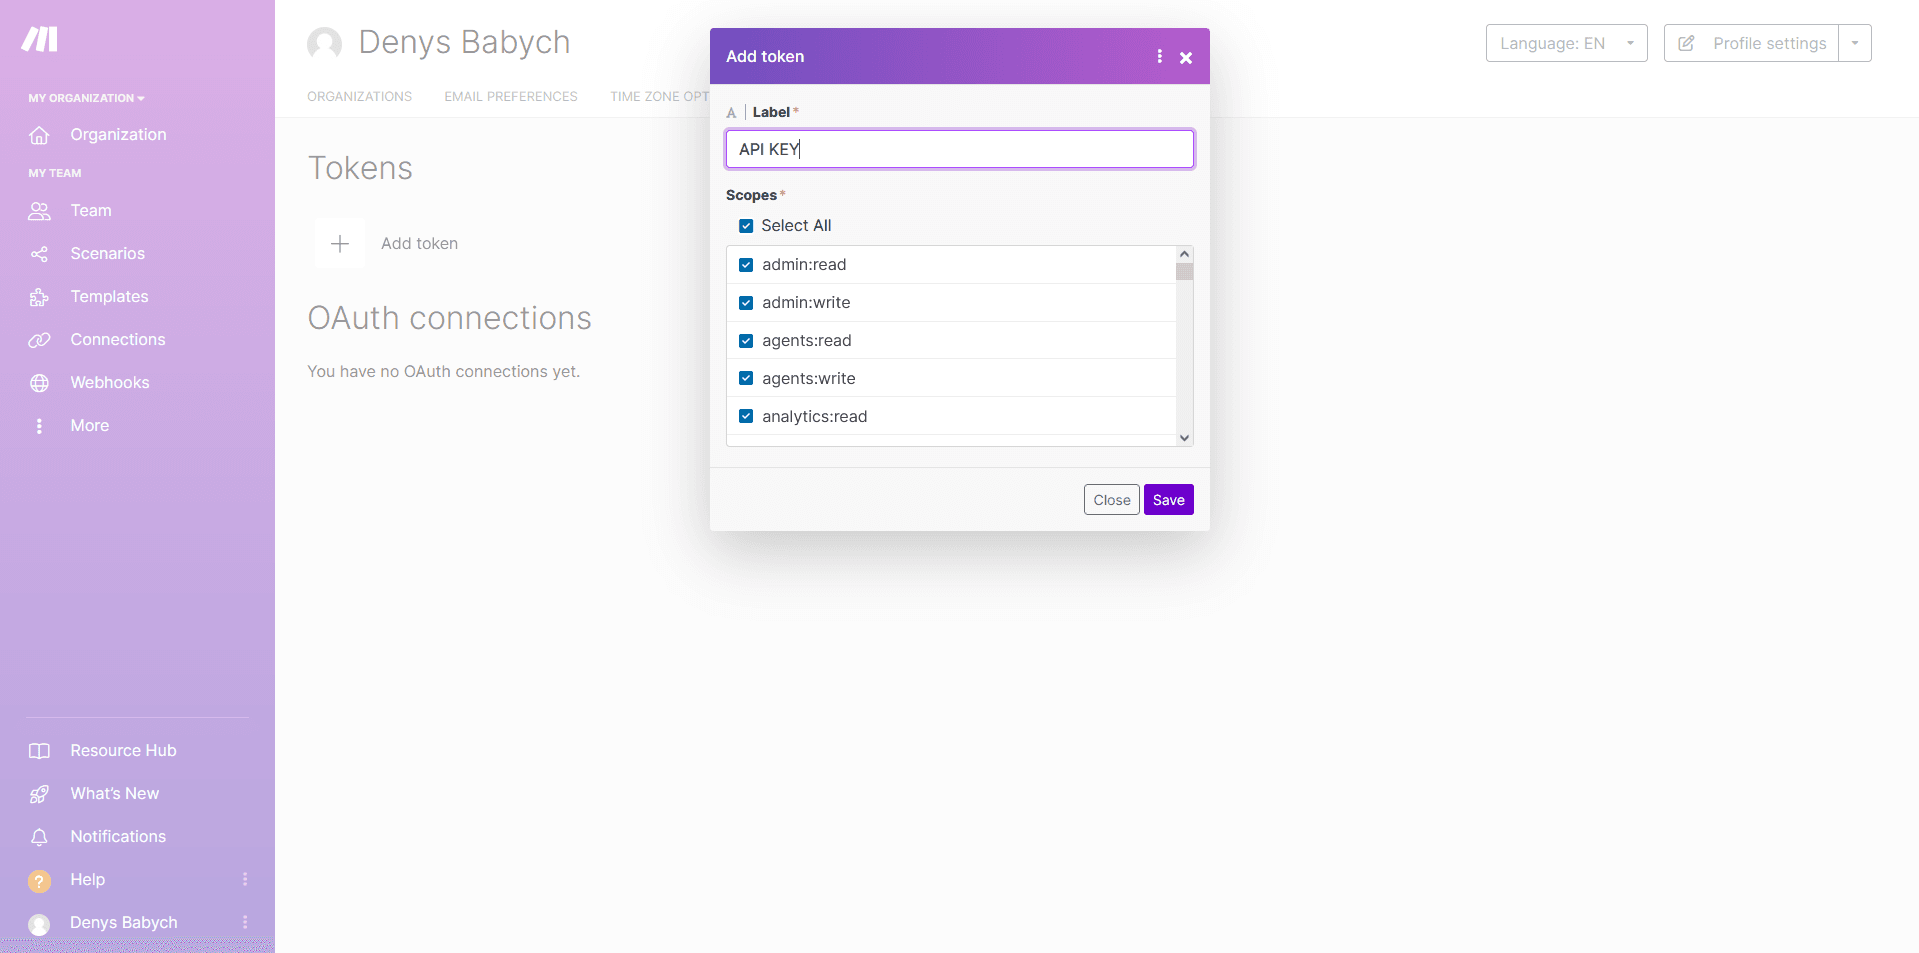
.env
MAKE_API_KEY=
5. Copy your MAKE URL, add a /api/v2 and paste in .env

.env
MAKE_API_URL=https://eu2.make.com/api/v2
Scenario templates
1. Create a new scenario in Make
If you want to communicate with your scenario via HTTP requests, your scenario must start and end with the Webhook module (gateway-webhook)
2. Add your scenario data to the scenarios/page.tsx availableScenarios like this:
scenarios/page.tsx
const availableScenarios: ScenarioTemplate[] = [ { id: yourScenarioId, image: '/yourScenarioImage.png', name: 'yourScenarioName', description: 'yourScenarioDescription', fields: ['yourScenarioFields'], route: '/api/scenarios/yourScenarioName', }, ]
3. Create a new route in app/api/scenarios. You must specify each connection and the initial webhook, if any. Like this:
• Connection is created like this:
app/api/scenarios/yourScenarioName.ts
// 1. Create OpenAI connection const connectionResponse = await axios.post( 'BASE_URL/connections?teamId=MAKE_TEAM_ID', { accountName: 'OpenAI date', accountType: 'openai-gpt-3', apiKey: apiKey, apiOrg: apiOrg, }, { headers: { Authorization: 'Token MAKE_API_KEY' } } ) const connectionId = connectionResponse.data.connection.id if (!connectionId) { throw new Error('Connection ID missed') }
• Webhook is created like this:
app/api/scenarios/yourScenarioName.ts
// 2. Create webhook for receiving messages const webhookResponse = await axios.post( 'BASE_URL/hooks?teamId=MAKE_TEAM_ID', { name: 'webhook openAI date', team_id: MAKE_TEAM_ID, teamId: MAKE_TEAM_ID, typeName: 'gateway-webhook', method: true, headers: true, stringify: false, interface: [{ name: 'message', type: 'text' }], }, { headers: { Authorization: 'Token MAKE_API_KEY' } } ) const webhookId = webhookResponse.data.hook.id const webhookLink = webhookResponse.data.hook.url if (!webhookId || !webhookLink) { throw Error('hook creating error') }
4. GET a blueprint of your scenario from /scenarios/SCENARIO_ID/blueprint
app/api/scenarios/yourScenarioName.ts
// 3. Get the blueprint of the source scenario const blueprintResponse = await axios.get( 'BASE_URL/scenarios/scenarioId/blueprint', { headers: { Authorization: 'Token MAKE_API_KEY' }, } ) const blueprint = blueprintResponse.data.response.blueprint const flow = blueprint.flow as FlowModule[]
5. Update a blueprint of your scenario to new connections and webhooks
app/api/scenarios/yourScenarioName.ts
// 4. Update module configurations in the flow const updatedFlow = flow.map(module => { // Update webhook module with new webhook ID if (module.module === 'gateway:CustomWebHook') { return { ...module, parameters: { ...module.parameters, hook: webhookId, }, } } // Update OpenAI module with new connection and assistant ID if (module.module === 'openai-gpt-3:messageAssistantAdvanced') { return { ...module, parameters: { ...module.parameters, __IMTCONN__: connectionId, }, mapper: { ...module.mapper, assistantId: assistantId, }, } } return module })
6. Create new scenario using new blueprint and synchronize it with Database
Interaction with functionality
If your trigger module is a getaway-webhook, you get a link to which you can send requests. The boilerplate already has a trial version of chat with scenario /chat/projectID/page.tsx